 The Setup Tool
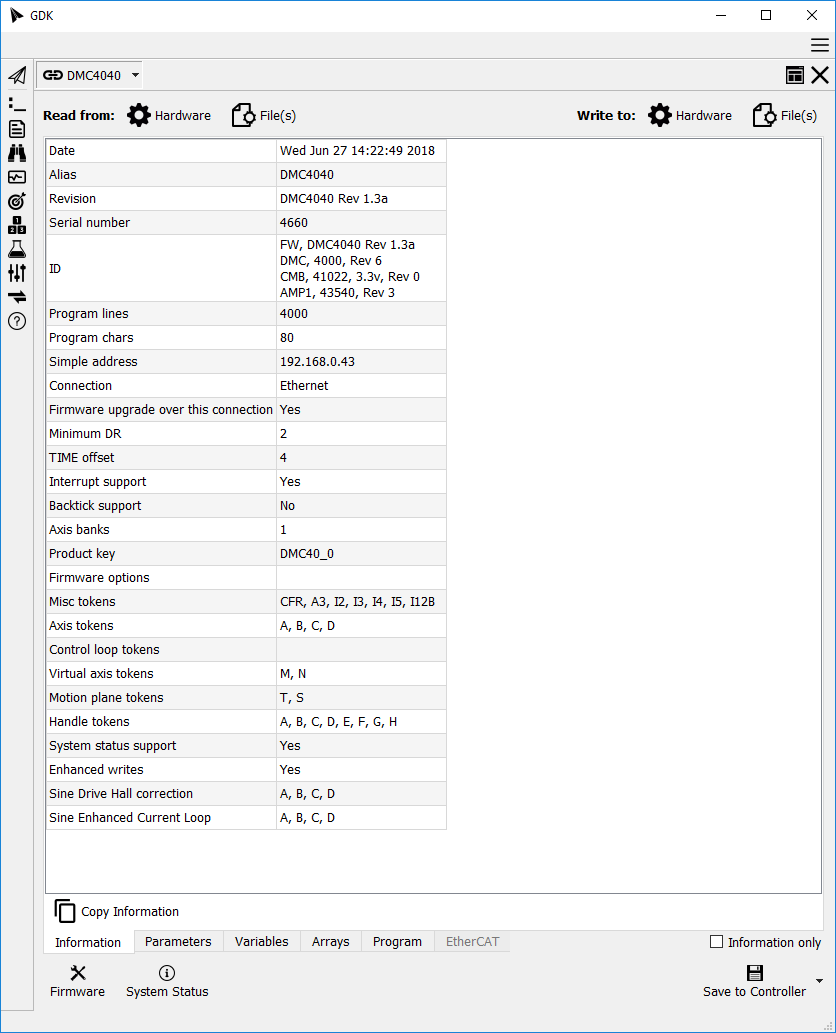
Description
The Setup Tool makes backing up and restoring controller settings easy. Update controller parameters settings, variables, arrays, and programs from within the Setup Tool.
Backup to disk
- Once connected, read all data to GDK via the Read from:
 Hardware button.
This will upload parameters, variables, arrays and the program into GDK's
memory.
Hardware button.
This will upload parameters, variables, arrays and the program into GDK's
memory. - To backup to disk, click the Write to:
 File button. There are two
ways to save the data.
File button. There are two
ways to save the data.
- GDK Compressed Backup (*.gcb) (recommended). A single, compressed file that encodes the controller's memory. This is the easiest format to manage, email etc.
- Create multiple files (*.*). This format creates human-readable copies of the various parts of the controller's memory. This is useful for debugging, or if only parts of the memory are to be managed.
To backup only a portion of the controller memory (e.g. just the variables), go to the applicable tab and tick the <active_tab> Only checkbox (e.g. Variables Only or Parameters Only).
Restoring and Programing Hardware from disk
- Click the Read from: File button to read file contents into GDK's memory.
- To write to a controller, first connect to the controller, then click the Write to: Hardware button.
- Click the
 Save to Controller button to save all of the new settings to flash.
An alternate way to save specific sections to the controller is to click the arrow next to the Save to Controller button and select the desired section.
Save to Controller button to save all of the new settings to flash.
An alternate way to save specific sections to the controller is to click the arrow next to the Save to Controller button and select the desired section. - For parameters, select Parameters (BN) only.
- For programs, select Program (BP) only.
- For variables and arrays, select Variables and Arrays (BV) only.
- Connect to another controller to repeat the process, as needed.
Cloning a Controller
Backup and Restore can be mixed to clone a source controller to a destination controller. The source controller and the destination controller should be the same model, number of axes, firmware rev, etc.
- Connect to the source hardware to be cloned and read all data to GDK via the
Read from: Hardware button.
This will upload parameters, variables, arrays and the program into GDK's memory.
- Next, connect to the destination controller and click the Write to: Hardware button.
- Click the Save to Controller button to save the new settings to flash.
- Connect to another destination controller to repeat the process, as needed.
Installing Firmware
The Setup tool is used to load new firmware onto the controller.
- Obtain and unzip the firmware image from Galil. Standard firmware release are available on Galil's website.
- Open an instance of the Setup tool and connect to the controller.
- Click the
 Firmware button to
open the loader dialog.
Firmware button to
open the loader dialog. - Choose the hex file from the firmware archive.
- Review the Firmware Upgrade dialog and click Upgrade to install the new firmware.
Getting System Status
The Setup tool can report the status of certain controller parameters.
Click on the ![]() System Status button to open a window containing the following information:
System Status button to open a window containing the following information:
- Whether or not parameters have been saved to the controller from GDK.
- Whether or not the timer interrupt has overflowed.
- If the following jumpers are installed (certain jumpers may not be applicable to all controllers)
- 19.2 (baud rate)
- 38.4 (baud rate)
- UG (upgrade)
- MR (master reset)
- MO (motor off)
- OPT (option)
Editing Values
The Setup tool allows editing of the various parameter fields, variables, arrays, and program. Changes are reflected in GDK Memory and on the connected controller with all data except the Program tab. The program is only changed in GDK memory.
Parameters
Use the Parameter tab to edit controller settings. Change the Value field to the desired new value. If the controller errors with the new setting, an error will be displayed in the GDK Log.
Variables
Use the Variables tab to edit variable values. Modify the Value cell to change its value. Double click the last row Variable cell to add a new variable.
Arrays
Use the Arrays tab to edit array values. Expand the tree view next to an array's name to see the indices. Double click the Value cell to edit.
Program
Use the Program tab to edit the program. This tab is not a full-featured
editor and does not update the controller's program until the
Write to: ![]() Hardware button
is pushed. See the Editor Tool for a better code
editor.
Hardware button
is pushed. See the Editor Tool for a better code
editor.
EtherCAT
Use the EtherCAT tab to get an overview of the controller's EtherCAT configuration. This tab will be grayed out unless connected to an EtherCAT capable controller. See the EtherCAT Tool to set up an EDD-37000 EtherCAT controller.
![]()